Showing posts with label Lifestyle. Show all posts

Thursday, August 9, 2018

How anyone can master Pull Ups

Can’t do a pull-up? We’re here to fix that—and help you get better abs in the process.
Here’s how to work up to a pull-up, with a training plan that will actually fit into your real life.


The pull-up might be the best indicator of upper body strength.
Your arms and back have to do an enormous amount of work to lift your entire body, which is why being able to perform many reps is an effective way to improve not just the obvious muscles — your back, arms and forearms — but can also help you build incredible core strength.
In fact, as an exercise physiologist and strength coach, I’d go so far as to say that the pull-up is the world’s most under-appreciated way to develop your abs—and every other muscle in your midsection, for that matter.
All of that is great, but there’s one problem: It’s an exercise that gives a lot of people a lot of trouble, regardless of whether you’ve been training for years or just started.
If you are struggling to perform a pull-up — or you wish you could do many more — I’ll share a few simple-to-learn techniques that aren’t taught enough and will change everything about your pull-up performance.
By the time you’re done, you’ll not only be surprised by how quickly you can improve, but also by how many of the methods used to increase your upper body strength aren’t actually pull-ups.

Can’t Do a Pull-up? Start Here

If you can’t do any pull-ups, odds are you’ll blame it on your lack of back strength. To become stronger, you might start doing countless 1-arm rows and other dumbbell or barbell exercises.
While those exercise will make you stronger (and are a part of the solution), they won’t guarantee that you’ll be able to do more pull-ups. That’s because pull-ups aren’t just about your back.
EVEN IF YOU HAVE A REALLY STRONG BACK, YOU CAN STRUGGLE WITH PULL-UPS IF YOU HAVE A WEAK CORE.
Core stiffness, or being able to create tension throughout your torso, is a key part of successfully doing a pull-up.
Your shoulder blades are connected to your torso. A stiff, stable core gives your arms something strong to pull on. And that can have a massive impact on your ability to lift your body.
So if you are struggling with your pull-ups—or can’t do a pull-up at all—train your core with these moves.
(If you prefer to watch all tips, here’s a video breaking down a lot of the progressions we’ll discuss today. In it, you’ll see my friend and fellow coach Tony Gentilcore demonstrating a lot of the moves discussed here.)

Hollow Body Holds

Start by lying on the floor. Lift your arms overhead (biceps in line with your ears), keeping your elbows straight.
Cross your hands and your ankles. Then press your hands and ankles into each other to create tension, and lift up into the hollow body position.
Let’s talk about that term “hollow” for a second. You might hear it and think: “belly button to spine.” DON’T DO THAT.
In a good hollow position, your abs are securely braced, as if they were about to take a punch. Take a breath in and squeeze. If anything, your abs will move slightly outward.
Start by holding a hollow body position while pressing your hands into each other and pressing your ankles into each other. This builds some of the body tension related to the position of hanging from a bar.
Hold this position for 5 seconds or 2-3 breaths per rep, maintaining as much head-to-toe tension as you can (more on how to create tension). Take a 5-second break, then repeat for 5-6 reps per set. Over time, you can increase the duration of your holds. If you can maintain tension for a full minute, that’s really good.

Hollow Body Horizontal Pull-ups

Next, you’re going to use a dowel or broomstick. Hold it in both hands as if it were the pull-up bar.
Start with your arms straight and elbows locked out, as if you were hanging from a pull-up bar. Then, while you hold the hollow position, bend your elbows to pull the bar across your face and toward your chest line, mimicking the pull-up movement.
The goal here is to maintain the core strength requirement while including an arm movement that replicates the pull-up—all while trying to breathe.
Hold the hollow body and try to complete 8-10 reps, breathing out as the bar comes to your collarbone.

Hollow Body Leg Raises

Are you a boss at the hollow body work? Great! Then it’s time to take it up another notch.
You can create some additional arm stimulus, and increase the challenge to your core, by doing a leg raise. Keep both knees locked out and cross one foot over the other. Pull down on the stick and lift your toes toward it. You may even be able to touch your toes to the bar, depending on your level of strength and control.
The big thing to remember here is to maintain tension throughout your lats to help pull your torso up. Squeeze the bar as hard as you can in your hands and think about pulling down on the bar as much as you are pulling up with your legs. This tension in your arms, back and core will help you lift your legs more easily.
Perform a set of 5-8 reps.

Stability Ball Rollouts

Another exercise that develops core stiffness is a stability ball rollout. There are two ways you can perform the movement, and both are helpful to your pull-up quest.
Option #1: Try to keep your abs tensed and press your hips forward, allowing your arms to extend out as you move. Then pull back with your hips.  This version will place more emphasis on your abs and lower back, while taking some of the work off of your shoulders
Option #2: Do the same thing as you did in option #1, but use your lats to try and pull the ball back with your elbows to return to the starting position. In this version the shoulder angle is changing, which means the muscles that control the shoulders will be under greater load.
Complete 5-10 reps of either option, or both if you’re a little crazy.

How to Build Strength on the Pull-up Bar

Before you start pulling, it’s helpful to build your skill hanging from the bar.

Bar Hang

You might struggle at maintaining a dead hang from the bar due to grip strength. Hanging for 10-30 seconds can be a simple and very effective way to build the grip strength needed to perform pull-ups.

Hanging Shoulder Shrugs

When you can conquer that challenge with ease, your next goal is pulling your shoulders down and tight to your ribs while holding the same hollow body position you used on the ground.
Hold that position for 5 seconds per rep, breathing out forcefully with each contraction.

Hanging Leg Raises

Have the hollow body hang down cold? Good. You can add in some leg raises to really take it up a notch.
Start with a bent knee leg raise. The key is to not sway.
If that’s no problem, try a straight leg raise. Again, you want to avoid rocking back and forth. The movement should be slow and controlled.
In all likelihood, you will find at least one of these moves challenging. Because your goal with these is quality, not quantity, you can use “micro sets” to accumulate volume. Try to hit 10 amazingly good reps total. To do that, you might need to perform 5 sets of 2, or 4 sets of 2-to-3, or 3 sets of 3, and so on.
If you wanted to get a little crazy, you could try to bring your toes to the bar. Use your arms to help pull-up on your torso to get a more horizontal angle on the movement.

Pull-up Training: Mastering the Movement

Now let’s “grease the groove” of the movement in a way that will help you develop strength if you’re a beginner, and provide value if you’re more advanced.

Flexed Arm Hang

The flexed arm hang is a simple, yet underutilized move that will have all the muscles in your back and arms firing hard.  
To perform the move, just grab the bar and jump up. Keeping your chest as close to the bar as possible, hang there as long as you can tolerate. When you start to feel yourself coming down, fight the lowering for 3-5 seconds so you can get some eccentric strength development out of the move.
Try to maintain 10 to 30 seconds per hold, accumulating up to 30 seconds in a workout.  For eccentric reps, try to keep it to a max of 5 reps of 3-5 second eccentric lowering unless you want to look like a T-Rex for a few days after your workout because you’re too sore to extend your elbows.

Band Assisted Pull-ups

Once you are able to do flexed arm hangs (and the 3-5 second lowering) with skill and control, you should be ready to try the pull-up.
If you want to ease yourself into the movement, start by using a band for assistance.
The thicker the band, the more assistance it provides. Similarly, placing two feet in the band versus just one gives you more help when you perform the move.
Start with the thickest band you need in order to execute the move, then work down to smaller, thinner bands over time.
(More ways to use resistance bands in your workouts here.)

The “Pernicious Pull-up
Power” Workout Routine

So how do you put all of this together into a realistic pull-up training plan you could use on a regular basis? Glad you asked.
You want to “train for the movement” frequently. Three to four times a week is ideal.
Notice I said “train for the movement” and not “train the movement itself.” That’s because not all of your sessions need to include pull-ups. In fact, you’ll only perform actual pull-ups one day per week on this plan.
Here’s a sample calendar of what this pull-up training plan looks like:

DAY 1

Hollow Body Holds – 4 sets x 5 reps/set x 5 second hold per rep
Bar Hangs – 4 x sets x 6 reps/set x 5 second hold per rep
Flexed Arm Hang – accumulate 30 seconds

DAY 2

Hanging Shoulder Shrugs – 4 sets x 5 reps/set x 5 second hold per rep
Hollow Body Horizontal pull-ups – 4 sets x 8-10 reps/set
Hanging Leg Raises – 10 total reps

DAY 3

Hollow Body Leg Raises – 4 sets x 5-8 reps of smooth controlled tension
Eccentric pull-ups – 4 x sets of 4-5 reps working on 3-5 second eccentrics

DAY 4 (Pull-up day!) 

**If you can’t do a pull-up, perform…
Band Assisted Pull-ups – aim for a max of 3 reps per set
** If you can do pull-ups, then….
Pull-ups – start with a single max set, then perform 3 sets of 50% of this number. For instance, if you do 6 on the first set, do 3 sets of 3.
Following this pattern will help you develop pull-up specific strength in your back and arms and the core stiffness needed to accomplish the movement. Since there are a max of three moves per session, you can combine this simple calendar with your current training program.
Pull-ups may never be easy. But by training for them specifically, you’ll soon be able to do a lot more than you think.
Share:

10 tips to get Instant Fairenss

1. Banana Face Pack For Instant Fairness

1. Banana Face Pack For Instant FairnessPinit
Image: Shutterstock
You Will Need
  1. 1 Ripe Banana
  2. 1 tsp Lemon Juice
  3. 1 tsp Honey
  4. Towel

Prep Time

2 minutes

Treatment Time

15 minutes

Treatment

  1. Blend all the ingredients together until you get a smooth mixture.
  2. Wash your face with a mild cleanser and pat dry with a towel.
  3. Apply the banana mixture onto your skin and leave it on for about 15 minutes.
  4. Rinse your face with lukewarm water and pat dry.

How Often Can You Do This?

Twice a week.

Why This Works

Bananas are packed with vitamin A, B, and E. It is also an abundant source of the mineral Potassium. These nutrients help even out rough skin while also lessening the appearance of dark spots and blemishes. It improves skin elasticity while lightening it and preventing aging. The vitamin E content helps prevent oxidative damage while also building your skin’s defense against the harmful rays of the Sun.
Tired of using random products? Click here to take the quiz and get your customized skin care.

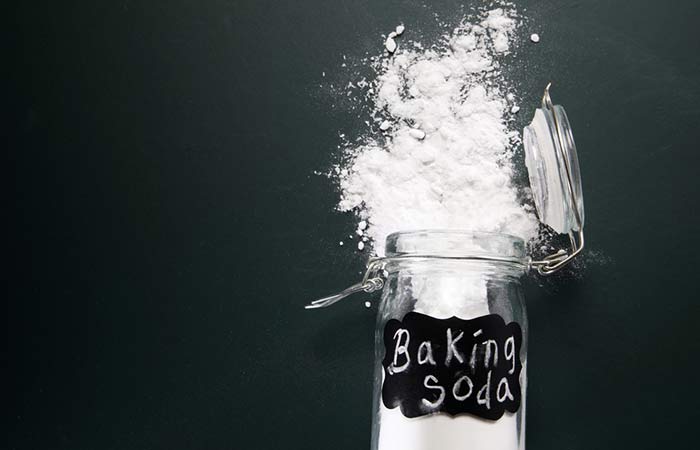
2. Baking Soda For Instant Fairness

2. Baking Soda For Instant FairnessPinit
Image: Shutterstock

You Will Need

  • 1 tbsp Baking Soda
  • 1 1/2 tsp Water
  • Towel

Prep Time

2 minutes

Treatment Time

5 minutes

Treatment

  1. Combine the baking soda and water until you get a smooth paste.
  2. Wash your face with a mild cleanser and pat dry with a towel.
  3. Gently massage the paste onto your face in circular motions. Leave it on for about 5 minutes.
  4. Rinse your face with lukewarm water and pat dry.

How Often Can You Do This?

2-3 times a week.

Why This Works

Baking soda is a gentle exfoliant which also helps neutralize the pH of your skin. It has anti-inflammatory, antibacterial, and antifungal properties which help clear acne from your skin. It also helps unclog your pores while removing the damaged and darkened skin from the top layers, revealing fair and healthy skin.

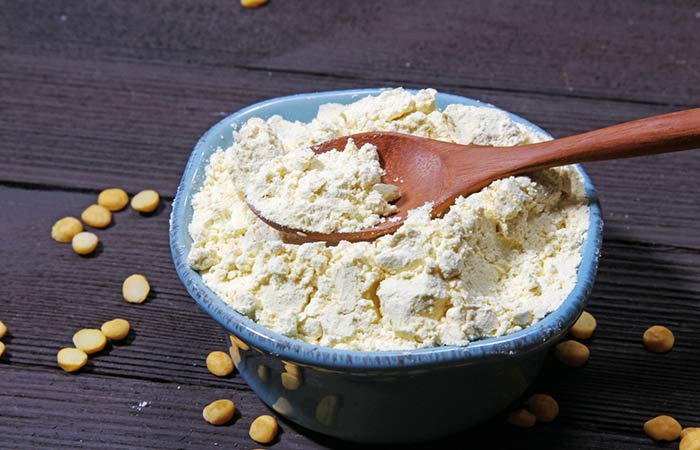
3. Gram Flour For Instant Fairness

3. Gram Flour For Instant FairnessPinit
Image: Shutterstock

You Will Need

  • 2 tbsp Gram Flour
  • 4 tbsp Rose Water
  • Towel

Prep Time

2 minutes

Treatment Time

20 minutes

Treatment

  1. Combine the ingredients until you get a smooth mixture.
  2. Wash your face with a mild cleanser and pat dry with a towel.
  3. Apply the mixture onto your skin as you would a face pack. Ensure to avoid the delicate areas around your eyes and mouth.
  4. Leave it on for about 20 minutes.
  5. Rinse off with lukewarm water and pat your skin dry.

How Often Can You Do This?

2-3 times a week.

Why This Works

The gram flour helps control the oil production in your skin while also maintaining its pH levels. It helps remove grime and toxins to leave your skin looking fair and radiant. It is also a gentle exfoliant, helping remove dead skin cells while encouraging the healthy production of new skin cells.

4. Lemon For Instant Fairness

4. Lemon For Instant FairnessPinit
Image: Shutterstock

You Will Need

  • 2 tbsp Lemon Juice
  • 1 tbsp Honey
  • Towel

Prep Time

2 minutes
Tired of using random products? Click here to take the quiz and get your customized skin care.

Treatment Time

15 minutes

Treatment

  1. Combine the ingredients until you get a smooth mixture.
  2. Wash your face with a mild cleanser and pat dry with a towel.
  3. Apply the mixture onto your skin as you would a face pack. Ensure to avoid the delicate areas around your eyes and mouth.
  4. Leave it on for about 15 minutes.
  5. Rinse off with lukewarm water and pat your skin dry.

How Often Can You Do This?

Twice a week.

Why This Works

Lemon’s rich vitamin C content helps lighten pigmentation and dark spots, evening out your skin tone. It is also rich in antioxidants which help prevent oxidative damage. This face pack purifies and refines your pores while also killing off harmful bacteria that can cause breakouts. The combined bleaching properties of lemon and honey help control melanin production, lightening your skin color.

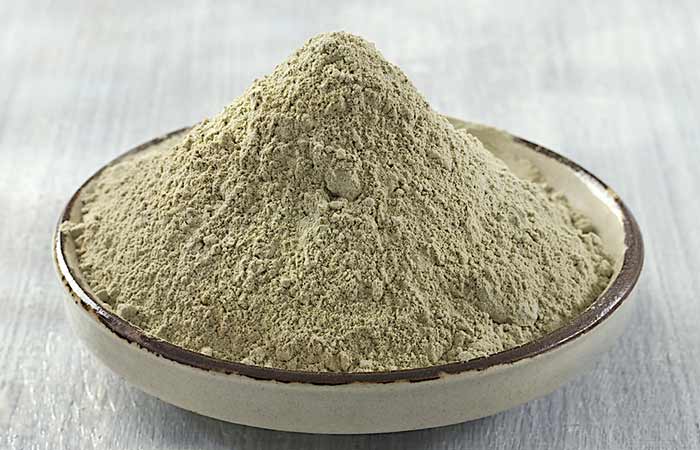
5. Multani Mitti For Instant Fairness

5. Multani Mitti For Instant FairnessPinit
Image: Shutterstock

You Will Need

  • 5-6 Peeled Cucumber Slices
  • 2 tsp Multani Mitti
  • 1 tbsp Rose Water
  • Towel

Prep Time

5 minutes

Treatment Time

15 minutes

Treatment

  1. Blend the ingredients together until you get a smooth mixture.
  2. Wash your face with a mild cleanser and pat dry with a towel.
  3. Apply the mixture onto your skin as you would a face pack. Ensure to avoid the delicate areas around your eyes and mouth.
  4. Leave it on for about 15 minutes.
  5. Rinse off with lukewarm water and pat your skin dry.

How Often Can You Do This?

2-3 times a week.

Why This Works

The cucumber juice combined with the multani mitti in this face pack helps lighten your skin tone while helping fade discoloration. The rose water adds an instant pink glow to your skin. Multani mitti is also rich in minerals that help nourish your skin. It has strong bleaching, cleansing, and oil-absorbing properties which work to lighten your skin while keeping it clean and healthy.

6. Papaya Face Pack For Instant Fairness

6. Papaya Face Pack For Instant FairnessPinit
Image: Shutterstock

You Will Need

  • 1 Papaya Slice
  • 1 tsp Lemon Juice
  • 1 tsp milk

Prep Time

2 minutes

Treatment Time

20 minutes

Treatment

  1. Blend the ingredients together until you get a smooth mixture.
  2. Wash your face with a mild cleanser and pat dry with a towel.
  3. Apply the mixture onto your skin as you would a face pack. Ensure to avoid the delicate areas around your eyes and mouth.
  4. Leave it on for about 20 minutes.
  5. Rinse off with lukewarm water and pat your skin dry.

How Often Can You Do This?

1-2 times a week.
Tired of using random products? Click here to take the quiz and get your customized skin care.

Why This Works

Lemon juice is one of the most popular treatments for fair skin. In combination with papaya, it can give you amazing results. This is because both lemon and papaya have bleaching properties that can help lighten your skin tone and leave it with a radiant glow. If you have dry skin, you can add a little milk to this mix to make it more hydrating.

7. Tomato For Instant Fairness

7. Tomato For Instant FairnessPinit
Image: Shutterstock

You Will Need

  • 1 Ripe Tomato
  • Towel

Prep Time

2 minutes

Treatment Time

20 minutes

Treatment

  1. Blend the tomato to a puree consistency.
  2. Wash your face with a mild cleanser and pat dry with a towel.
  3. Apply the tomato puree onto your skin as you would a face pack. Ensure to avoid the delicate areas around your eyes and mouth.
  4. Leave it on for about 20 minutes.
  5. Rinse off with lukewarm water and pat your skin dry.

How Often Can You Do This?

Every day

Why This Works

Tomatoes are a rich source of vitamins A, B, and C. They also contain calcium, magnesium, and potassium. While the minerals help, heal your skin and keep it hydrated, the vitamins prevent premature aging and boost healthy cell production. Tomatoes also have bleaching properties that help lighten your skin while its lycopene content protects your skin from the harsh UV rays of the Sun.

8. Turmeric For Instant Fairness

8. Turmeric For Instant FairnessPinit
Image: Shutterstock

You Will Need

  • 1/2 tsp Turmeric
  • 1 tsp Milk
  • Towel

Prep Time

2 minutes

Treatment Time

1 hour

Treatment

  1. Combine the ingredients until you get a smooth mixture.
  2. Wash your face with a mild cleanser and pat dry with a towel.
  3. Apply the mixture onto your skin as you would a face pack. Ensure to avoid the delicate areas around your eyes and mouth.
  4. Leave it on for about 1 hour.
  5. Rinse off with lukewarm water and pat your skin dry.
  6. If your skin looks yellow, dip a cotton pad in some milk and rub this on your face for a couple of minutes.
  7. Proceed to rinse your face again.

How Often Can You Do This?

Thrice a week.

Why This Works

Milk has excellent cleansing properties which help get rid of grime, dead skin, and other impurities from your skin. In combination with turmeric, it makes for an amazing treatment for acne scars, pigmentation, acne, and dark spots. Turmeric also helps inhibit melanin production with its curcumin content. Curcumin helps block the production of ACTH, a hormone that triggers excessive melanin production.

9. Ubtan For Instant Fairness

9. Ubtan For Instant FairnessPinit
Image: Shutterstock

You Will Need

  • 1 tbsp Gram Flour
  • 1 tbsp Rice Flour
  • 2 tsp Lemon Juice
  • 2 tsp Milk

Prep Time

2 minutes

Treatment Time

25 minutes

Treatment

  1. Combine the ingredients until you get a smooth mixture.
  2. Wash your face with a mild cleanser and pat dry with a towel.
  3. Apply the mixture onto your skin as you would a face pack. Ensure to avoid the delicate areas around your eyes and mouth.
  4. Leave it on for about 20 minutes.
  5. After 20 minutes have passed, wet your hands and gently rub the dry mask on your face as you would a scrub.
  6. Rinse off with lukewarm water and pat dry.

How Often Can You Do This?

1-2 times a week.

Why This Works

Homemade Ubtan face packs are usually used by Indian brides to help add a glow to your skin while improving its health. The use of multiple ingredients in an Ubtan makes it an effective skin health boosting face pack. This pack contains the goodness of gram flour, milk, lemon juice, and rice flour.

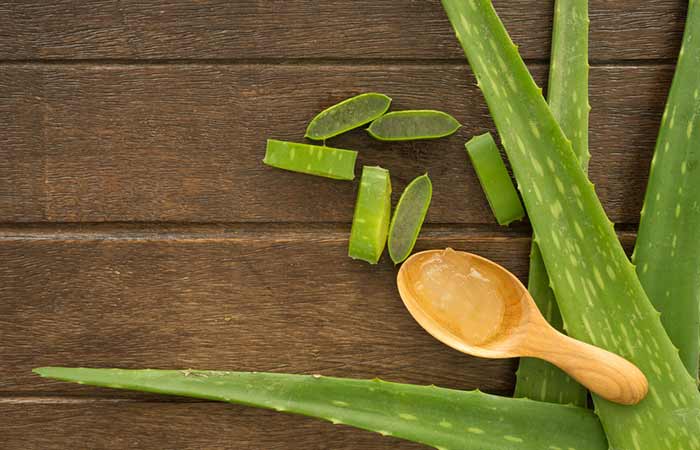
10. Aloe Vera For Instant Fairness

10. Aloe Vera For Instant FairnessPinit
Image: Shutterstock

You Will Need

  • 1 Aloe Vera Leaf
  • Towel

Prep Time

2 minutes

Treatment Time

10 minutes

Treatment

  1. Slice an Aloe leaf in half and scoop out its gel.
  2. Blend the gel to bring it to a smooth consistency.
  3. Wash your face with a mild cleanser and pat dry with a towel.
  4. Apply the gel onto your skin as you would a face pack. Ensure to avoid the delicate areas around your eyes and mouth.
  5. Leave it on for about 10 minutes
  6. Rinse off with lukewarm water and pat your skin dry.

How Often Can You Do This?

Twice a day

Why This Works

Aloe vera contains about 150 nutrients which include enzymes, lignins, salicylic acids, sterols, saponins, amino acids, minerals, and anthraquinones. About 96% of the gel is water which makes it extremely hydrating on the skin. It contains minerals like magnesium, zinc, and selenium which repair and protect the skin from damage causing factors such as chemicals, the harsh rays of the sun, and pollution. The vitamins and minerals in this ingredient also help inhibit melanin production, lightening the color of your skin.
Share:

Announcements

Original Content Catch it From Upcoming Monday !!
Original Content is coming soon !!